
Web Registration System
Welcome to Web Registration. This step-by-step visual guide will help you successfully navigate the process of registering for or updating your semester classes. In addition, it will introduce you to this system’s unique benefits and how to maximize them.
Understanding Web Registration
You can log in to the Web Registration system at webreg.usc.edu using your USC Net ID and password, or by navigating to the link in your Experience USC portal.
On the Web Registration home page, you can select from one of three semesters. Click on the current semester to update your existing schedule, or click on a future semester to register for upcoming courses.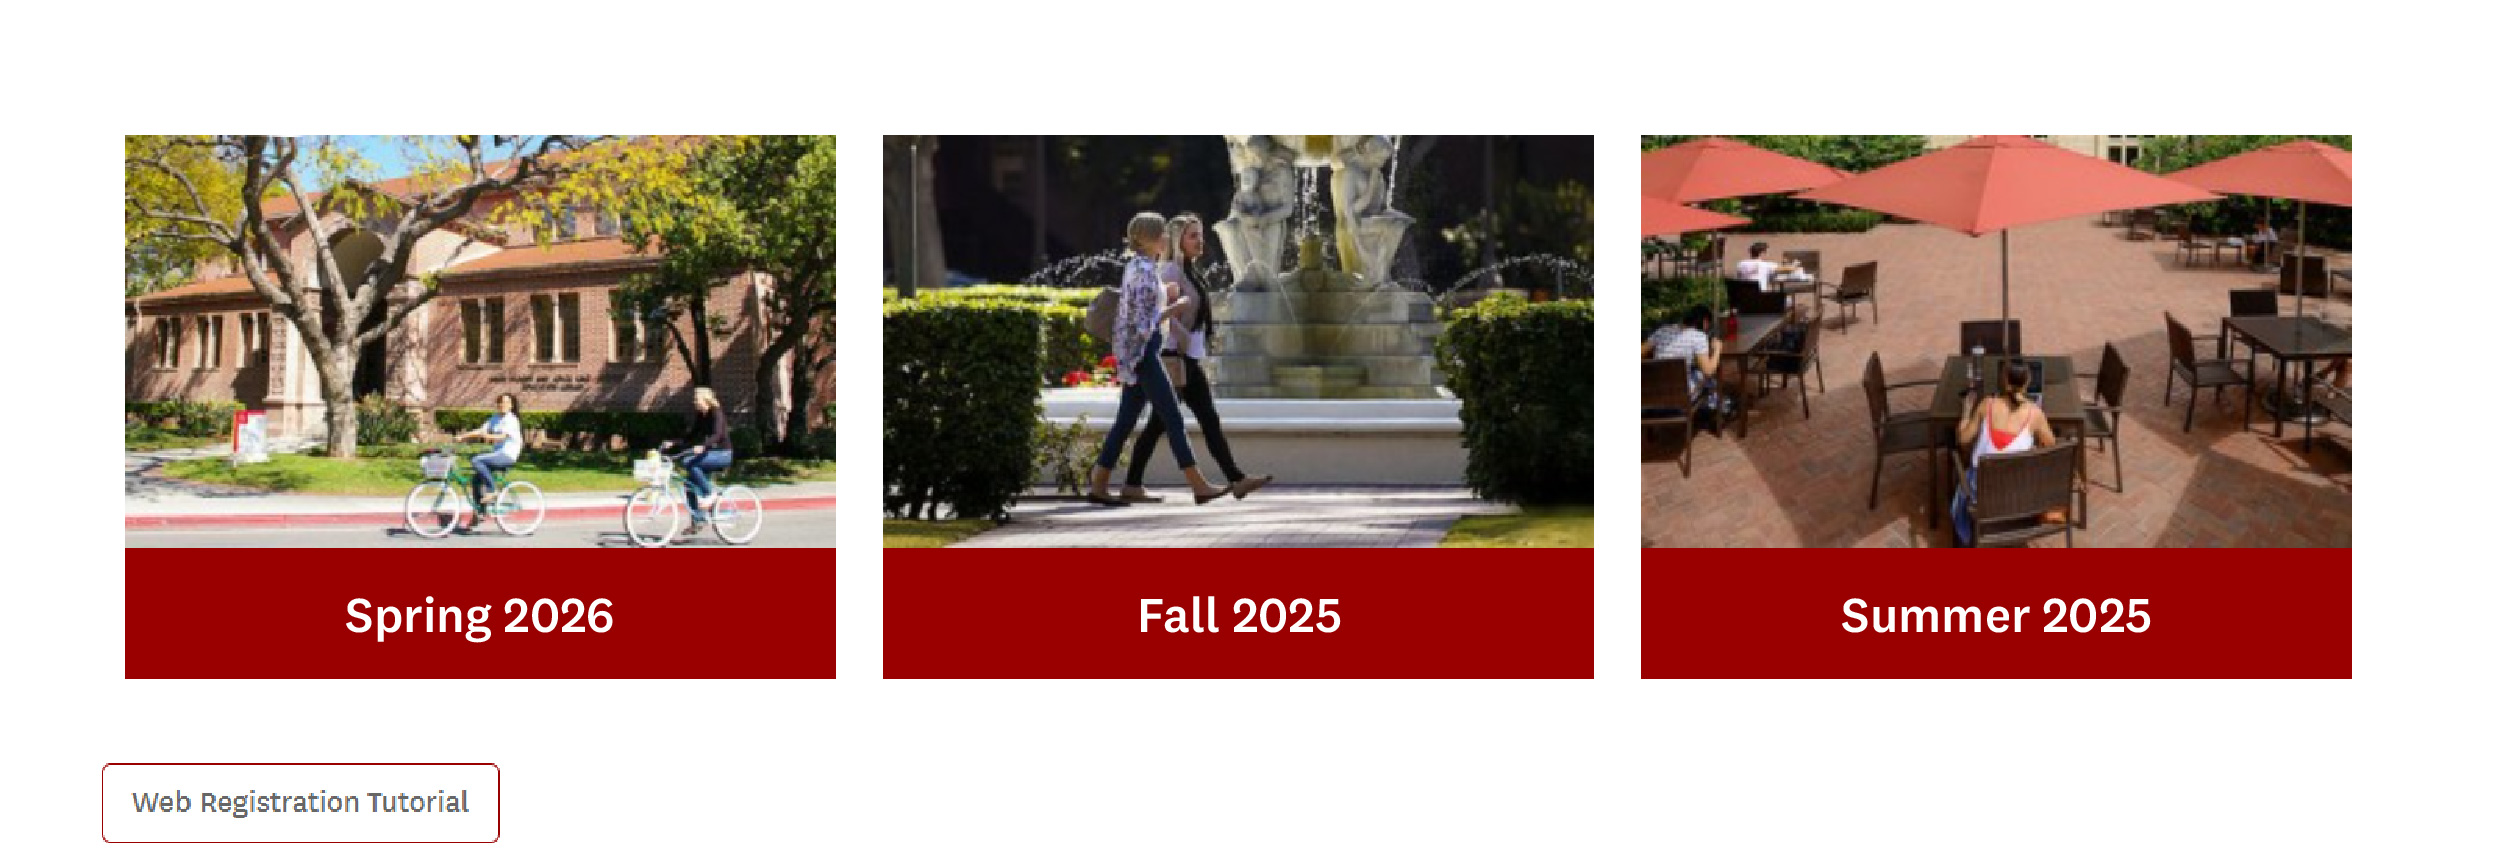
Selecting a semester will open its main page. At the top of the page, there should be six (6) tabs: “[Semester/Year] Classes,” “myInfo,” “myCourseBin,” “myCalendar,” “Tuition Refund Insurance,” and “Checkout.”

Under “[Semester/Year] Classes,” you will find that semester’s course offerings, divided first by school and then by major.
Click on the respective school and then on the major or area of study to view available courses.
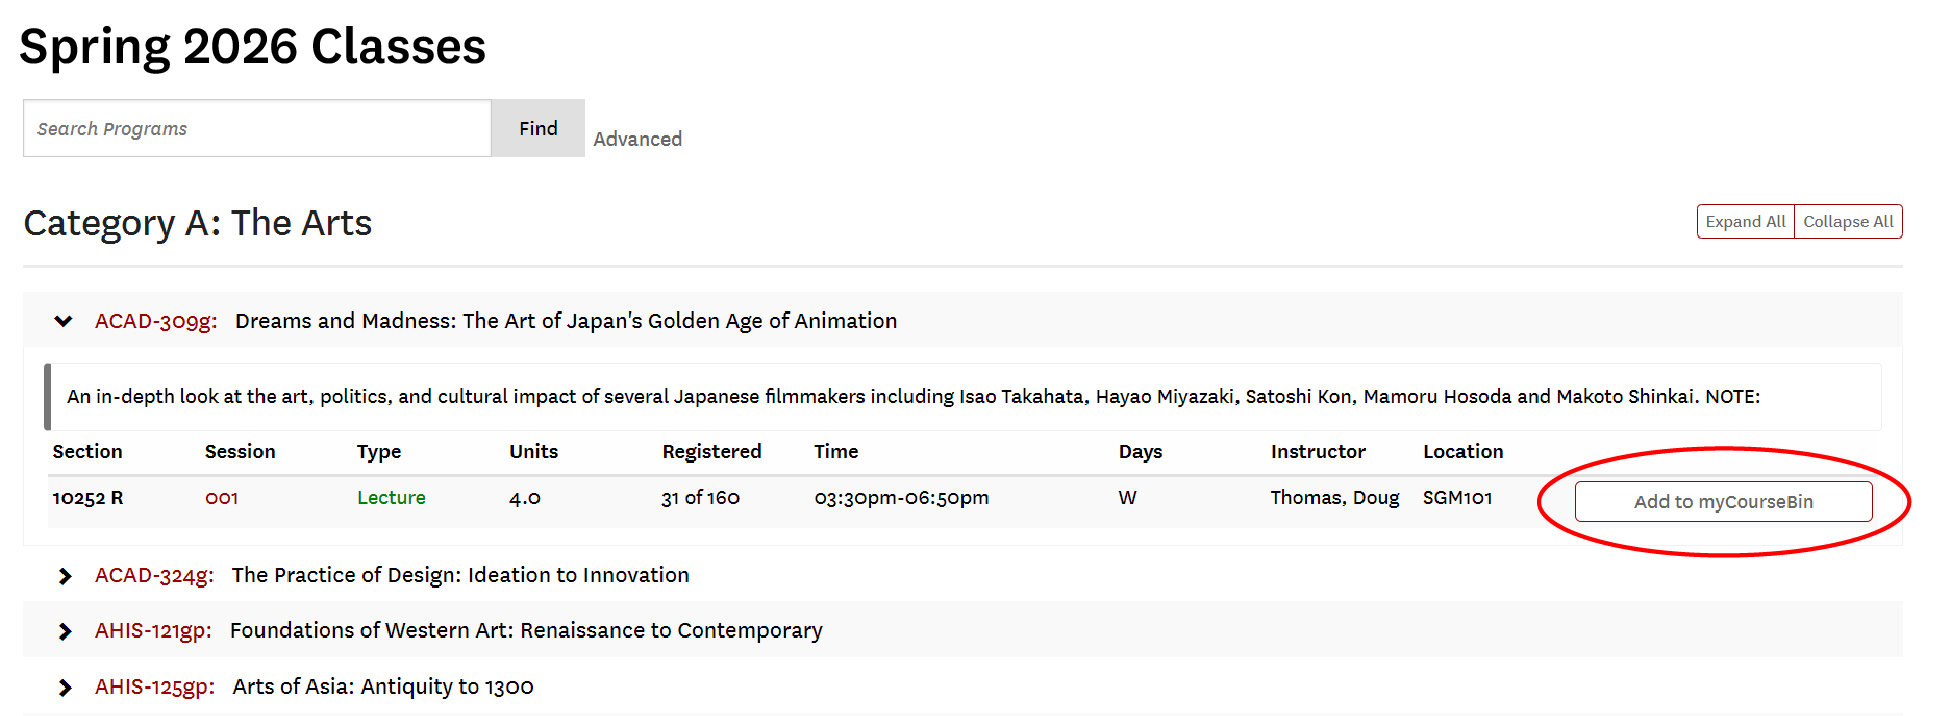
Click on a class name to view its information, including a description, unit count, current number of registered students, the days and times the class meets, the instructor, and the location of the class.
Locating General Education Courses
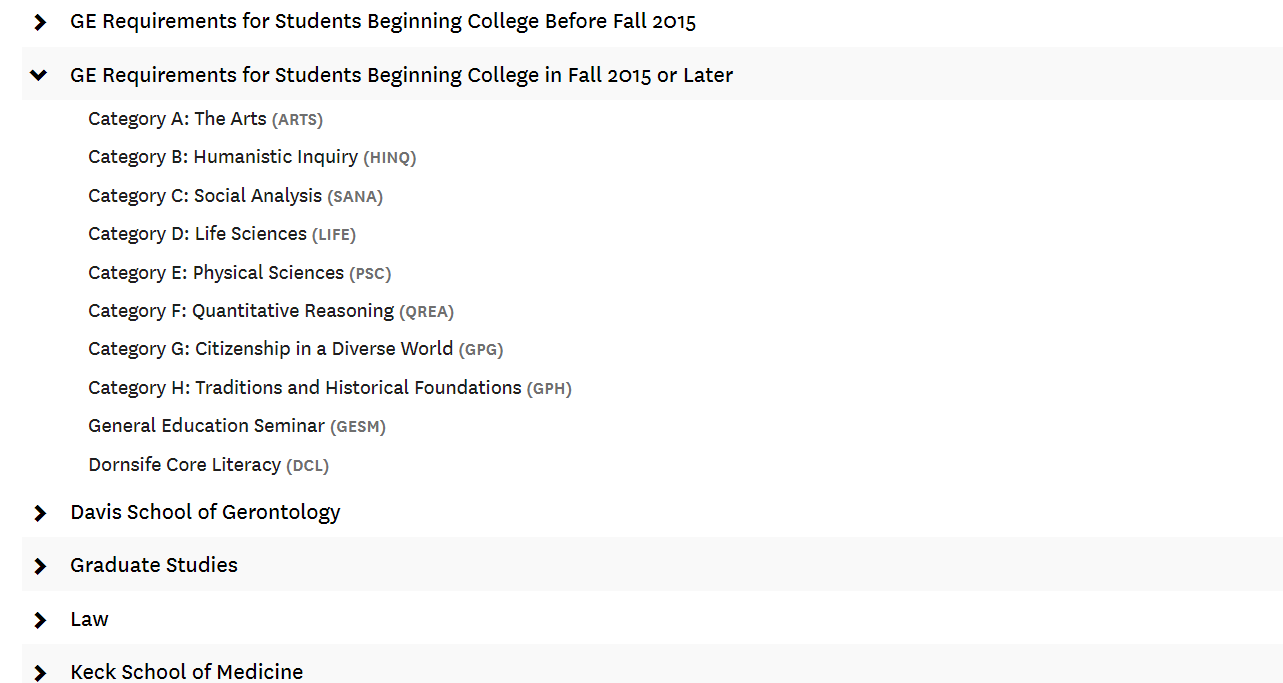
If you need to complete General Education requirements, click on the GE section that corresponds with the year you first enrolled in college. This will display lists of available classes that count toward each category.
Adding Classes
Once you have found a course that you would like to add to your schedule, click on the “Add to myCourseBin” button on the righthand side. This will add the course to your course bin. Note that “myCourseBin” functions much like a “cart” on retail websites — simply adding a course to your course bin will not register you for the class. As with a cart, there are extra steps you will need to take before the process is complete.
Registering for Your Courses
First, click on the “myCourseBin” tab to review all the courses you have added to your schedule. Your courses will be listed as “Scheduled but Not Registered.”
Ensure that you have obtained D-clearance for any course that requires it and check for any time conflicts.
Also, note the location of each class. “Online” or “hybrid” courses may be charged a different tuition rate and could affect your financial aid eligibility if you receive need-based aid. Refer to the Schedule of Classes for more information.

To officially register for your classes, click on the “Register” button.
This will open the “Checkout” tab listing each class you are registering for. This will include ALL classes that are “Scheduled but Not Registered.”
Resolving Issues and Unscheduling Courses
If you are unable to complete the registration process, it could be due to one or more issues. You may need to obtain D-clearance for a class or classes, or there may be a time conflict.
To remedy these issues, you can “Unschedule” the class or classes. “Unscheduling” a class will place it “on hold.” It will NOT reserve a spot for you on the roster, but the class will remain in your course bin in case you decide to register for it later.
To unschedule a class without removing it from your course bin, press the “Unschedule” button.
To unschedule a class and remove it from the course bin, click on “Unschedule” and then on “Remove.”
Dropping a Class
If you need to withdraw from (drop) a course that you have already registered for, you can do so at any time during the first three weeks of the semester without a mark of “W” appearing on your transcripts. You will not be charged tuition for courses dropped during this time.
You may withdraw from a course without academic penalty up until the 80 percent mark of a session. Students may not withdraw from a course after the 80 percent mark. This may result in a grade of “W” on your transcripts. We strongly recommend that you review semester dates and deadlines on the Registrar’s Registration Calendar or refer to Step 6 of the Roadmap to Registration for more information.
To drop a course, navigate to the “myCourseBin” tab and then select the “Unschedule” button that appears beneath the course.
You will then have two options: “Schedule” or “Drop.”
To officially withdraw from the class, you must click on the “Drop” button. If you unschedule a course without dropping it, your name will remain on the class roster. It could also result in unwanted tuition charges and a negative mark on your transcript.
Clicking on the “Drop” button will return you to the “Checkout” tab to process the change.
Note: Before withdrawing from any of your courses, review your “Checkout” items to ensure that there are no other pending class changes. Web Reg will attempt to process any and all pending changes, in addition to dropping the course, when you check out.
Web Registration Features
myCourseBin
Your course bin will display complete information for the classes that you have added to your schedule, including section numbers, class times, professors, and the number of currently registered students.
Section Numbers
You will find section numbers in the “Section” column of the course listing. Section numbers followed by an “R” indicate “open registration,” meaning that any student may register for the course. If the number is followed by a “D,” you will need to contact the department for “D-clearance,” or authorization to register for the course.
Grade Options
Letter grading is the default option for all courses, but you may change your grade option to “Audit” or “Pass/No Pass” from your course bin. Note: You may first need to receive permission from the course instructor to audit a course or take it “Pass/No Pass.” There are also limits to the number of courses that may be taken on a “Pass/No Pass” basis. You will be charged the standard tuition rate for the course, regardless of grade option. Please refer to the Grades page for more information.
To change how you will be graded, select the appropriate option from the “Grade Option” drop-down menu. Click on “Update.”
You will be returned to the “Checkout” tab. Note that checking out will process any and all pending updates to your course schedule, so review your checkout items carefully.
myCalendar
Click on the “myCalendar” tab for a visual representation of your class schedule for the semester.
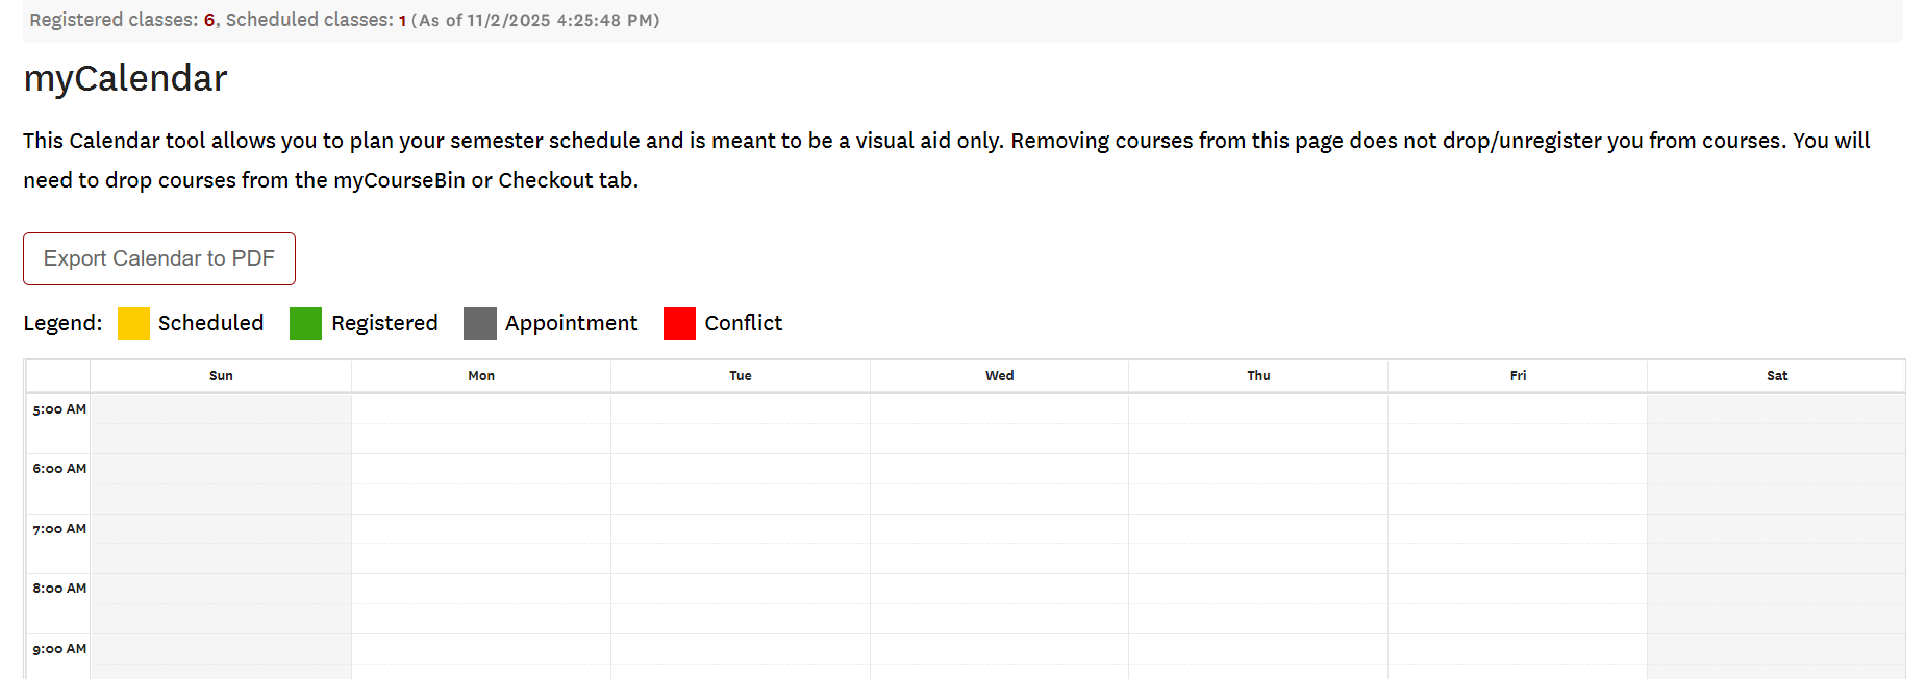
Green blocks indicate classes that you have registered for.
Yellow blocks indicate classes that you have scheduled but have not yet registered for.
Red blocks indicate a time conflict with another class.
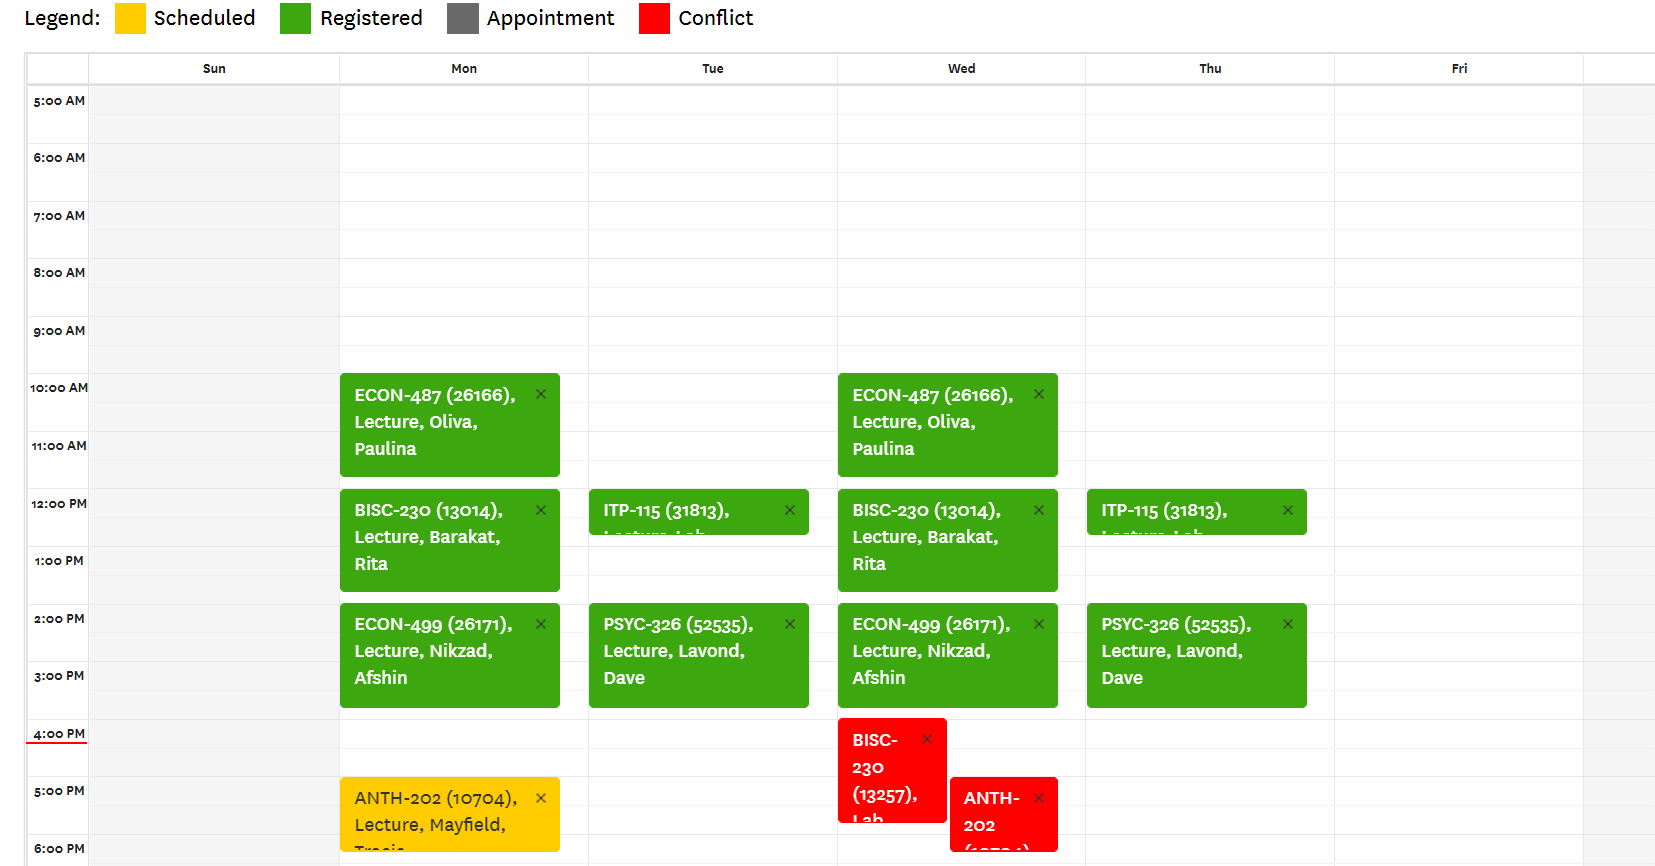
“myCalendar” can also be used to help you plan your schedule without affecting your official class enrollment. You can add or remove blocks (classes) to view your course load for each day. Be sure to include time for rest and meal breaks, as well as any extracurricular activities you may be involved in.
To remove a course from your calendar, click on the “X” on the corresponding block. This will not change your course registration or the items in your course bin. To re-add the class, return to your course bin and click on the “Schedule” button for that course.
To add appointments, double-click on any available (unscheduled) block of time. This will allow you to add extracurricular activities and ensure that your class schedule will not conflict with other commitments. Appointments will appear as gray blocks on the calendar.
You can also export your schedule to a PDF document, in case you need to send your class schedule to a supervisor, a group leader or an advisor. You may also find it help helpful to print a physical copy that you can keep with you throughout the week.
To export your schedule to Apple iCalendar, click on the “Export to Calendar” tab.
myInfo
The myInfo tab is divided into three different sections.
“Cleared Sections” is a list of classes that you have received D-clearance for. This list will not include open registration courses or courses for which D-clearance is still pending.
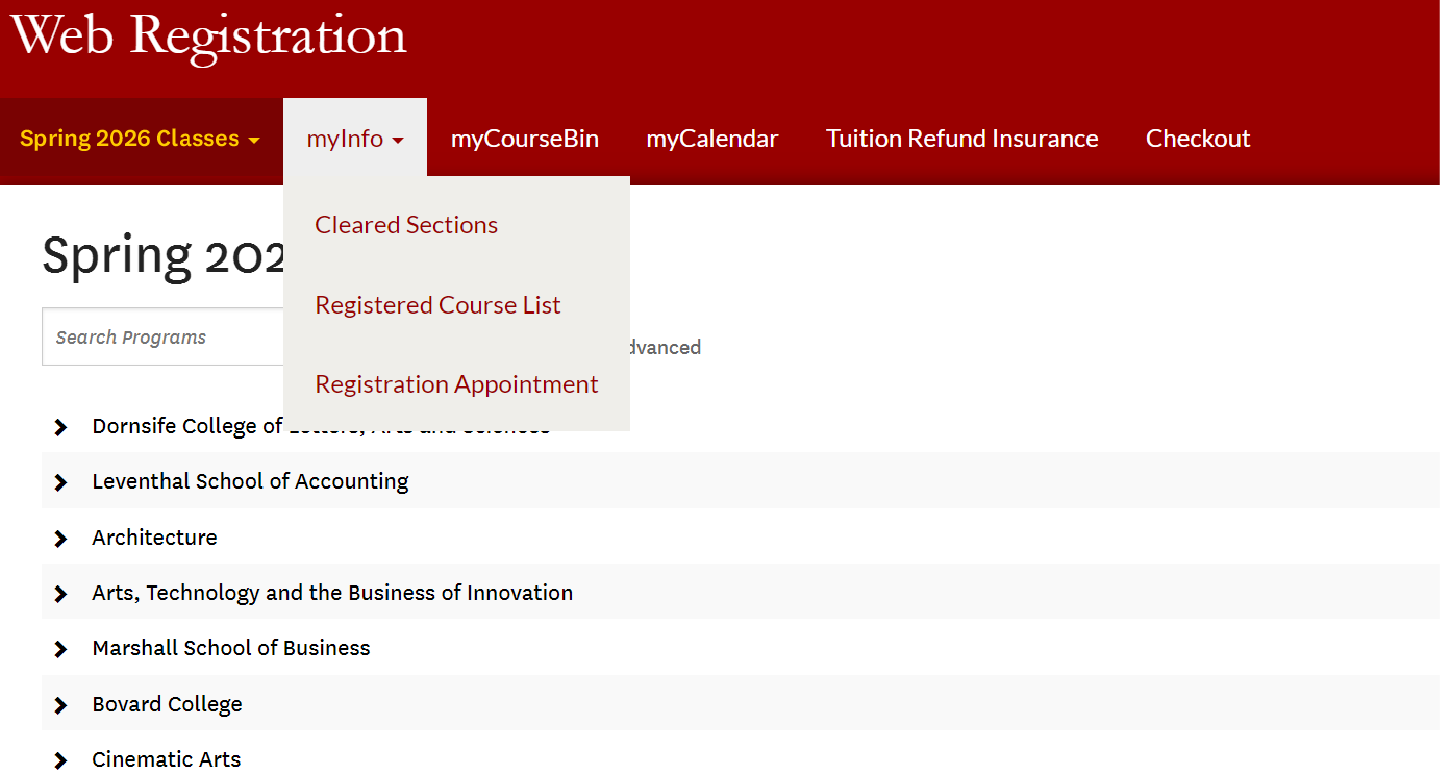
“Registered Course List” includes the classes that you have successfully registered for. This may be identical to your course bin if you have completed the registration process. This list will not include courses for which D-clearance is still pending or courses you have scheduled but did not register for.
The “Registration Appointment” section displays the date and time allotted for your semester class registration.
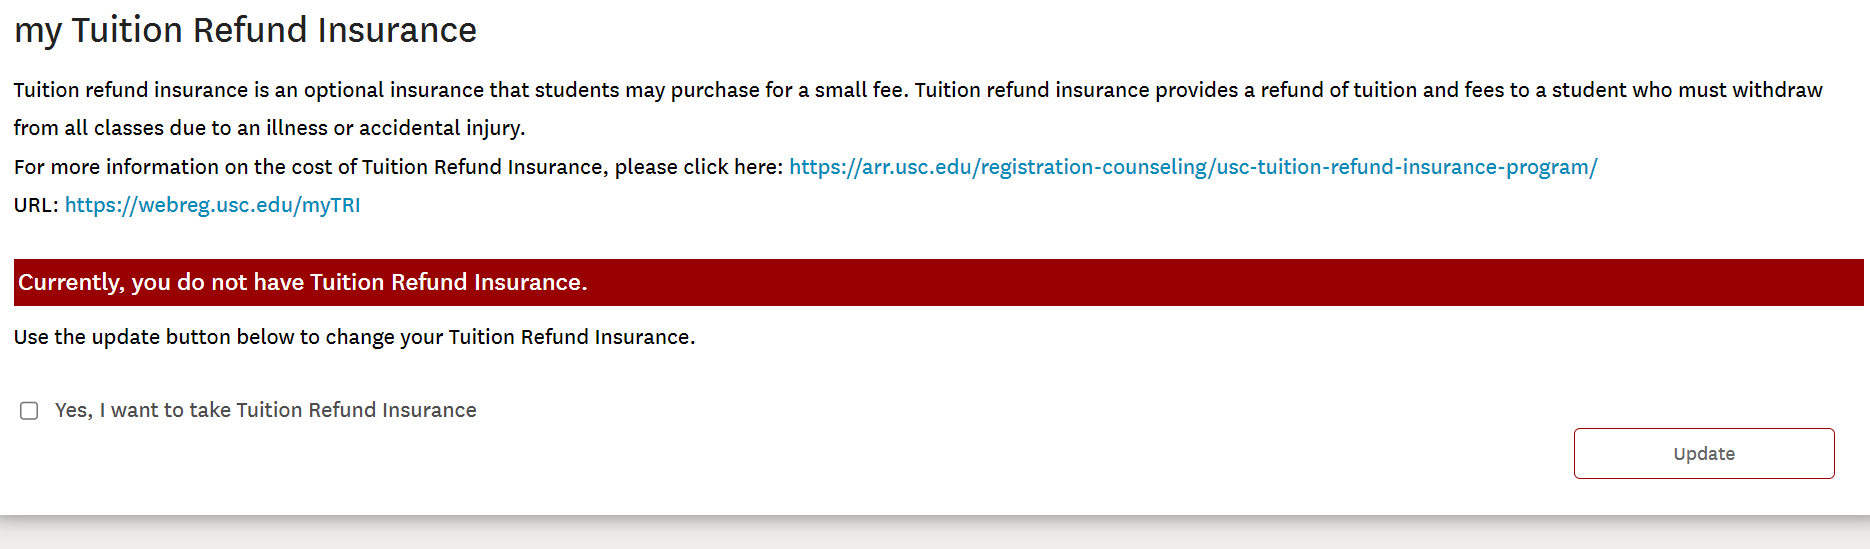
Tuition Refund Insurance
This tab will allow you to opt in to or out of Tuition Refund Insurance. TRI covers 85 percent of the tuition and mandatory fees (excluding the student Health Insurance Fee) for the semester if you need to withdraw from all classes due to injury, sickness, or psychological and emotional conditions (as defined in the DSM-IV manual). USC grants and scholarships are credited back to the university. If you choose to opt in, a small fee is added to your semester tuition and fee bill. For more information, please visit the Tuition Refund Insurance page.
Advanced Search
The Advanced Search feature will allow you to search for a class according to specific criteria such as instructor name, class meeting times, or section numbers.
To access the “Advanced Search” function, click on the “Classes” tab. Locate the basic search function and click on “Advanced” next to it.
Here, you can enter section numbers, class names, instructor names, unit counts or specific start and end times for the classes you are interested in.
You will then be able to view an alphabetical list of all the classes that meet your search criteria.
Important Reminder
Always check with your advisor before making significant changes to your schedule. Adding or dropping courses can have serious consequences, from altering your tuition and fee bill to affecting your progress to degree completion.
Have Questions?
If you have questions regarding your course schedule, please contact your advisor.
If you encounter technical issues with the Web Registration system, please contact USC Information Technology Services for assistance.